


Air source heat pumps (ASHPs) are a highly efficient and cost-effective way to heat and cool your home, but installing one can be a complex process. However, understanding the basics of the installation process can help you make an informed decision about whether an ASHP is the right choice for your home.
Before installing an ASHP, it is important to assess your home’s suitability for an ASHP installation. Factors such as climate, insulation, and the size and layout of your home should be considered. It is also important to determine the size and type of ASHP unit that will best suit your needs.
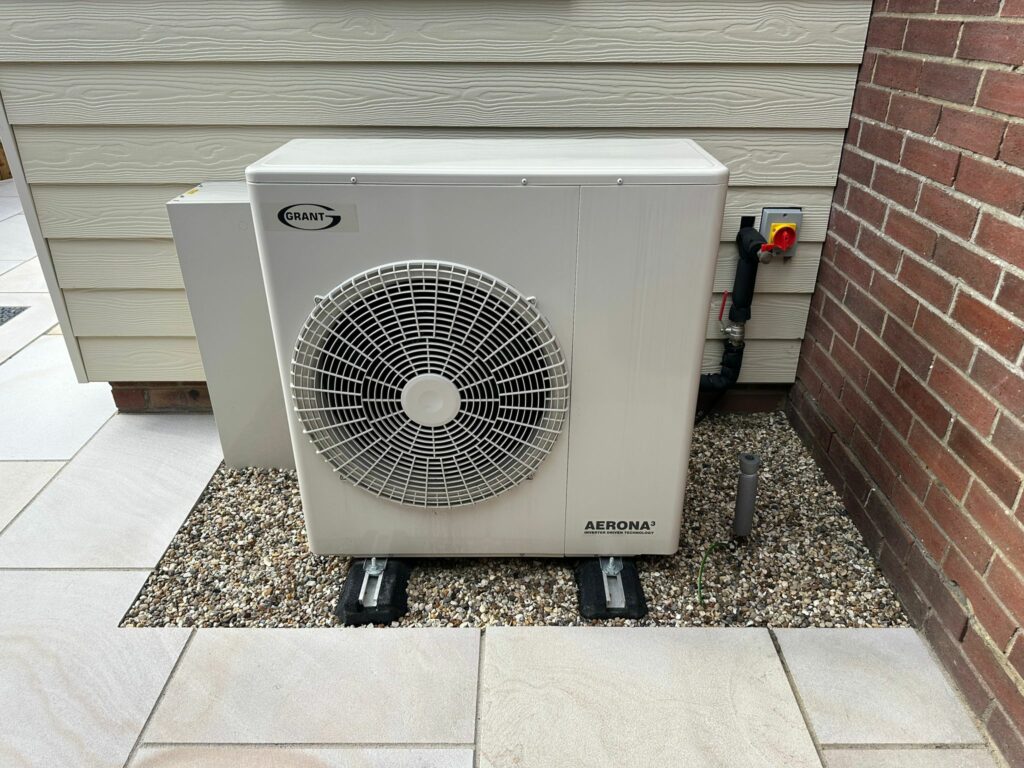
Once you have determined that an ASHP is the right choice for your home, the next step is to prepare for the installation. This includes assessing the site where the outdoor unit will be installed and planning the layout of the refrigerant lines. Make sure that the outdoor unit has adequate clearance and is protected from potential damage.
The installation process itself involves connecting the ASHP to your existing HVAC system and electrical supply. The outdoor unit is installed and the refrigerant lines are connected. Proper insulation and sealing must also be done to ensure optimal performance. After the installation is complete, the system is tested and commissioned to ensure that it’s working correctly.
It’s important to maintain and service your ASHP regularly to ensure that it continues to function at its best. This includes cleaning the filters, checking the refrigerant levels, and ensuring that the system is properly lubricated. Regular maintenance will not only extend the lifespan of your ASHP but also improve its efficiency and comfort.
Installing an ASHP is a significant investment, but the long-term financial benefits are significant. ASHPs are highly energy efficient, which can lead to lower energy bills and a quicker return on investment. They also qualify for various government incentives and rebates, making them an even more cost-effective option.
Preparing Your Home for ASHP Installation
- Check the existing HVAC system: If your home has an existing HVAC system, it’s important to ensure that it’s in good working condition before installing an ASHP. If there are any issues with the existing system, they should be addressed before installing the ASHP to ensure proper operation and efficiency.
- Determine the electrical requirements: ASHPs require a dedicated electrical circuit and may require an upgrade to the electrical panel. It’s important to have a licensed electrician evaluate the electrical system to ensure that it can handle the additional load of the ASHP.
- Consider zoning: Zoning is the process of dividing a building into different areas, each with its own thermostat, to improve temperature control and energy efficiency. This can be especially beneficial for larger homes or homes with multiple levels.
- Make room for the outdoor unit: The outdoor unit of an ASHP needs to be installed in a location that is easily accessible for maintenance and repair, and it should be protected from potential damage. Make sure that there is enough room for the unit, and that it is in a location that will allow for proper airflow.
Summary
An air source heat pump (ASHP) is a highly efficient and cost-effective way to heat and cool your home. Installing an ASHP is a complex process that should be done by a professional, but understanding the basics of the installation process can help you make an informed decision about whether an ASHP is the right choice for your home. Regular maintenance and service are also important to ensure that your ASHP is functioning at its best.


